
Ski Slope Markings and Difficulty: How to Choose
Slope markings and difficulty ratings help you choose a route, but conditions can change during the day. Check the current piste map and signs, then compare the run with your ability, visibility and the group’s energy.
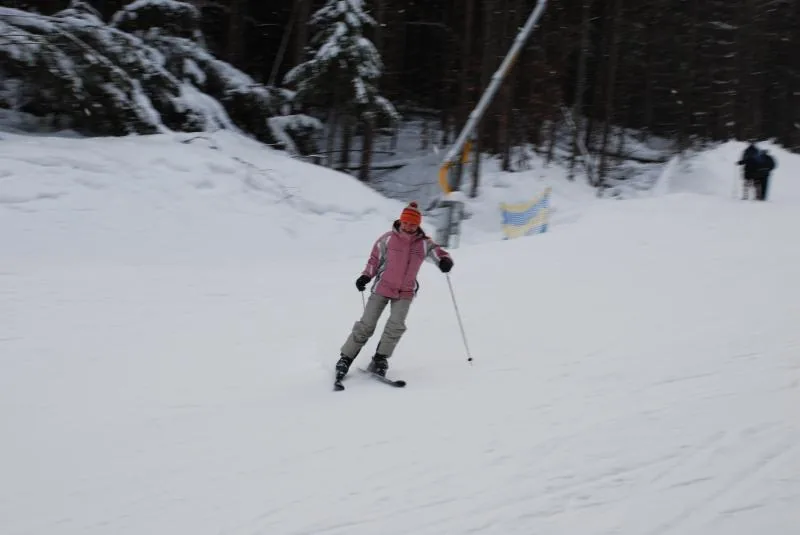 A skier wearing a pink jacket and orange hat descends a snow-covered slope.
Photo: Olga Buko
A skier wearing a pink jacket and orange hat descends a snow-covered slope.
Photo: Olga Buko
Read the map and signs
Find your location, a suitable open run and a return route you can manage if you become tired. Maps may show lifts, junctions and closed areas with different symbols. A route that looks straightforward can become harder in new snow, ice, shadow or heavy traffic. Follow signs and barriers on the mountain, not just the map.
Choose a realistic level
Pick the easiest suitable option if anyone in your group is unsure. A shorter line on the map is not necessarily the safer choice. Check the official difficulty rating, but also consider slope width, turns, surface, visibility and your ability to brake and steer. See the overview of slope types and difficulty levels.
Junctions and meeting points
Agree on a meeting place away from the skiing line before starting. Slow down at junctions and look for people entering from other runs. After a fall, move to a visible edge if it is safe. For more advice on spacing, stopping and rejoining a run, read ski slope safety and rules.
Plan for changing conditions
Wind, snowfall, flat light and fatigue can make a familiar route harder to read. Leave time for breaks and a return to your accommodation. If the group is tired or visibility worsens, choose an easier open run or finish early.
Frequently asked questions
What do slope signs tell me?
They can show route direction, difficulty, closures, junctions and specific hazards.
Can I use a closed run if it looks safe?
No. Closures remain in force until the resort officially reopens the run.
Why can a run feel harder than expected?
Hard snow, bumps, poor visibility, crowds and fatigue can all change the way it skis.
