
Winter Hiking: Routes, Weather and Safety
Winter hiking is a rewarding way to explore snowy trails, but snow, ice, darkness and poor visibility can change a familiar route. Start with a short, clearly marked walk if you are new to winter conditions, and make sure you have a safe way back.
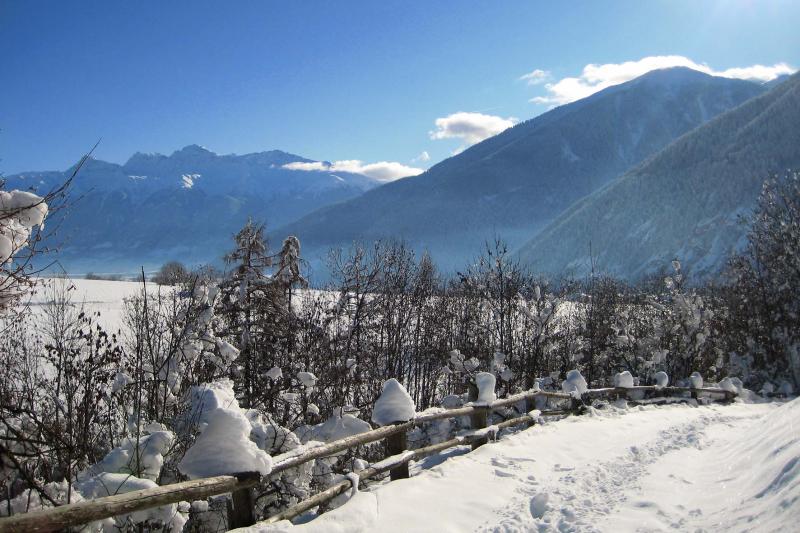 A wooden fence follows a path through a snow-covered mountain landscape.
Photo: VinschgerEngl
A wooden fence follows a path through a snow-covered mountain landscape.
Photo: VinschgerEngl
Choose a suitable route
Check the route’s length, elevation, surface and current status before setting out. A marked trail helps with navigation but is not automatically free of ice or avalanche risk. Alpine slopes and unmarked routes require a separate assessment and appropriate experience.
Check local weather warnings, temperature, wind, visibility and closure notices. Tell someone your route and expected return time, stay together and turn back if conditions deteriorate or you lose your bearings.
Clothing and equipment
Wear waterproof footwear with good grip, warm layers, gloves and a hat. A headlamp is useful in low light. For longer walks, carry water, a snack, a charged phone and a small first-aid kit. Choose equipment for the route and conditions rather than relying on a general checklist alone.
Stay safe on the way
Snow and visibility can change during the day. Keep away from closed trails and do not cross barriers. On long or alpine routes, check local avalanche information and travel only with suitable knowledge and equipment. Children need shorter stages and adult supervision. If someone is injured, move out of the way if safe and contact local help.
Frequently asked questions
Are marked winter trails always safe?
No. Markings help you navigate but do not remove risks from ice, weather or avalanche terrain.
What should I take on a short walk?
Footwear with good grip, warm clothing, gloves and a charged phone; take a headlamp if you may be out near dusk.
When should I turn back?
Turn back if visibility worsens, wind becomes strong, you are tired, the route closes or you lose your bearings.
